


Jump to page: 1
2 3
4 5
6 7
8 9
10 11
12 13
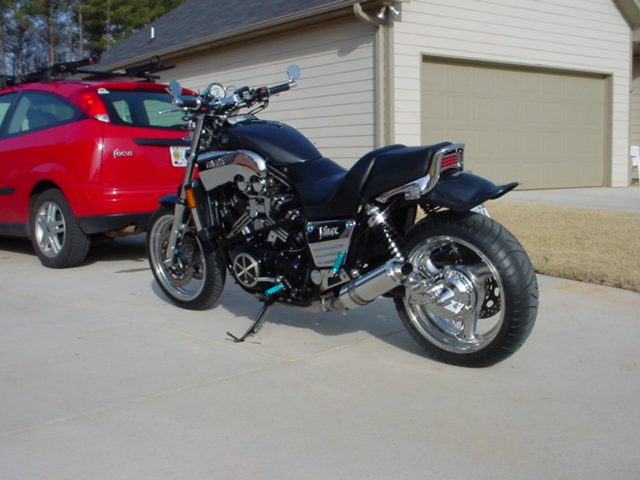
Ready for Daytona.. After 200 miles, everything is fine.
Chromed differential

Before
After
If you decide to tackle this, consider removing the shock mount stud prior to shipment to your favorite chrome shop. If you don't and they chrome it, it will never come out. If you get it out first you can reinstall after it's chromed. This stud can be a royal pain to remove so take to a machine shop. Try the double nut method and if that doesn't work you can grind two flat spots in the stud then remove with a wrench. Once you do this, have a new stud on hand.
You will also want to order all new bearings, seals and O-rings prior to reassembly. It's about eighty dollars worth of parts to go back in.
The oil pressure gauge project is complete and working
nicely.. The mounting location is not my ideal
spot but it's very visible with a slight tilt to the right. When I have
more time, will get a billet mount up by the speedo.. For now it will get
me through Daytona.
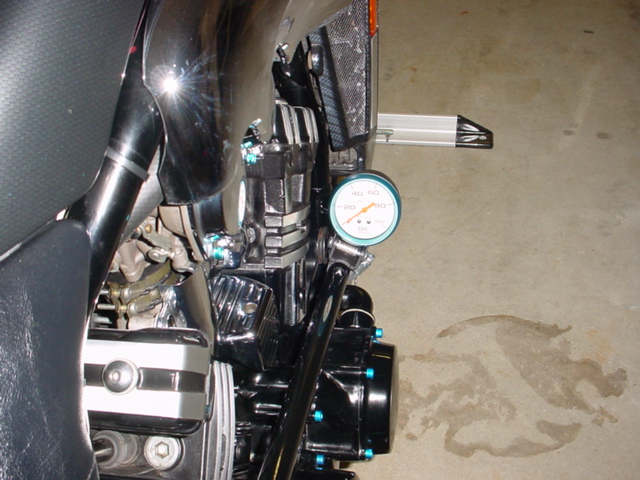
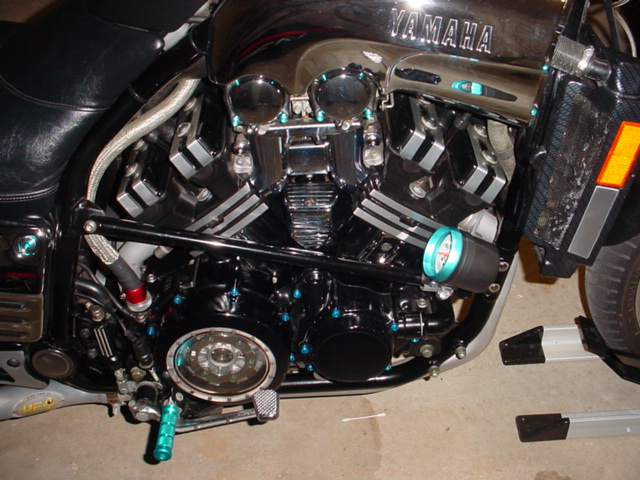

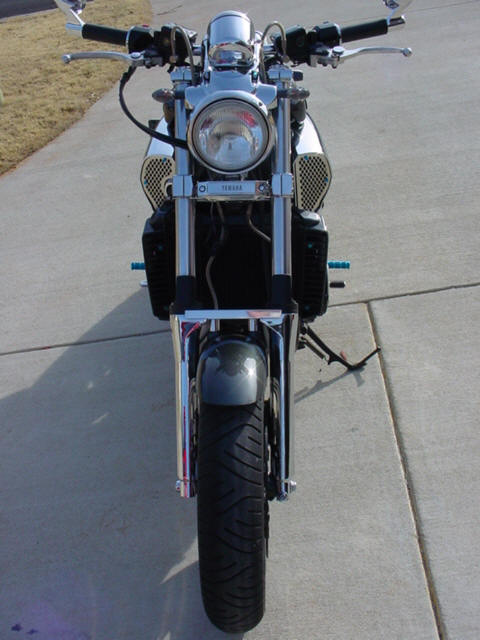
In these first two pics I had the gauge temporarily mounted using the clamp
which looked
very cheap on the bike. I decided to drill and tap the frame brace and do
away with the clamp.
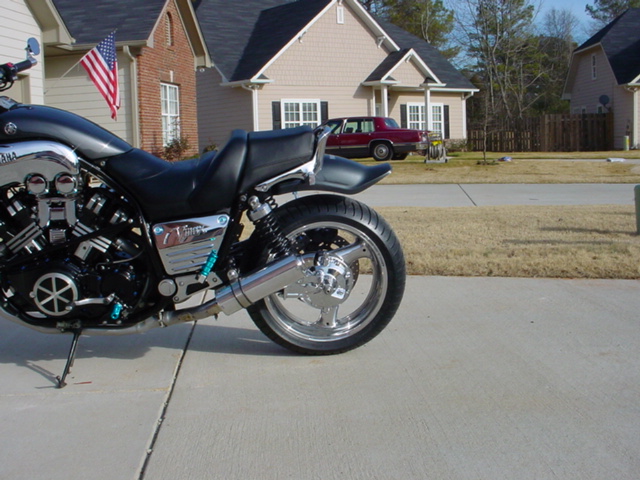
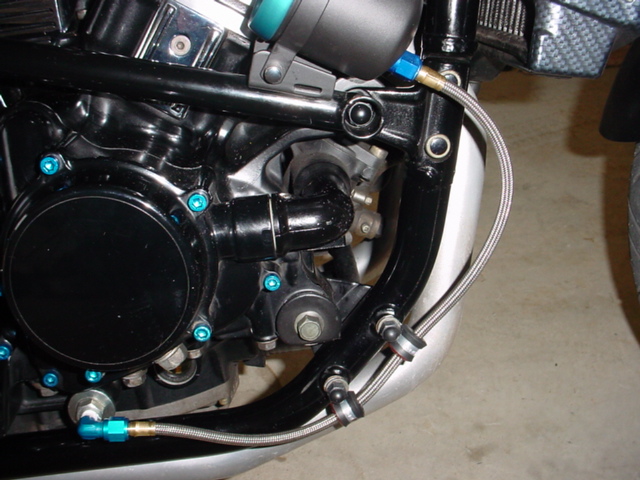
You can see that in the fourth pic.. or actually you don't see it and that's
what I wanted.
If you wish to tackle this project yourself it's fairly easy.. Biggest concern
is where to mount the guage.
Having the frame braces made all the difference for me since I don't have much
room on the handlebars.
What you'll need:
1. Kawasaki plug (92001-1183) and 22mm O-ring.
I used a 1-1/8 X 7/8 X 1/8 O-ring.
2. 1/8 pipe tap and necessary drill bits.. Drill press is ideal or access
to a machine shop.
3. 90 degree 1/8 pipe to -4AN fitting (Summit
Racing part # EAR-982204 [blue anodized])
4. Some length of hose suitable for a mechanical oil pressure guage with -4AN
fittings.
I used an 18" NOS stainless line from Summit Racing.
Autometer also carries some trick
kevlar
hose.
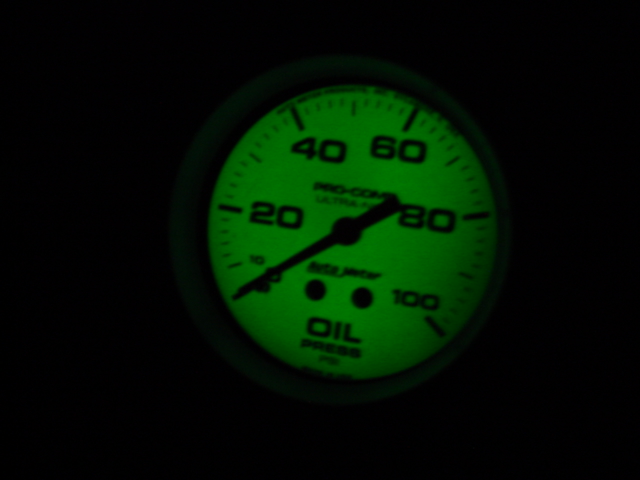
5. Any mechanical oil pressure gauge and mounting bracketry
My gauge is an Autometer
Pro Comp Ultra Nite Series (4521)
2 5/8 mechanical.
6. Teflon Tape
7. -4 AN wrench is best for tightening AN fittings to prevent scratches.
Test fit your gauge before doing anything.. This will give you plenty of
opportunity to decide where you like it best. Once that is determined,
measure for the length of oil line needed then proceed.
If anyone would like specifics on how to do this mod, email me and I'll be glad to help.
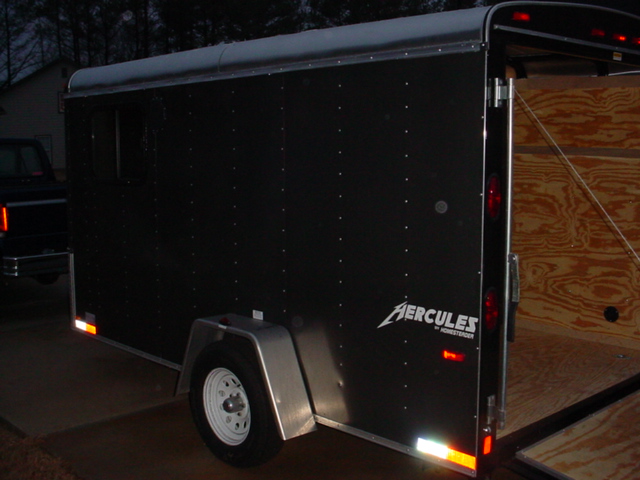
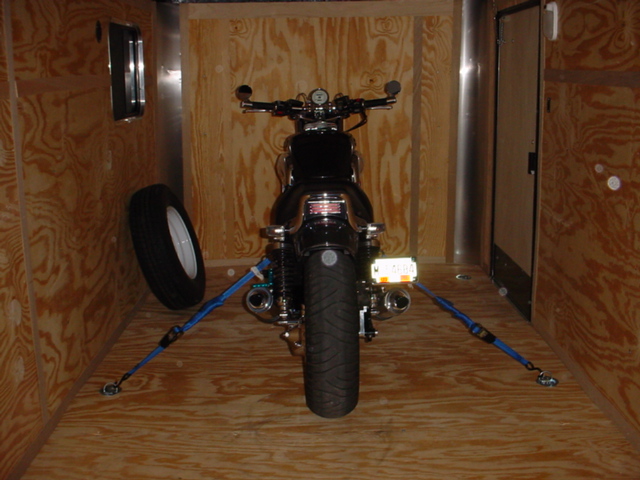
My new Vmax hauler... whoo hoo.. no more dirty Vmax on open trailer trips.

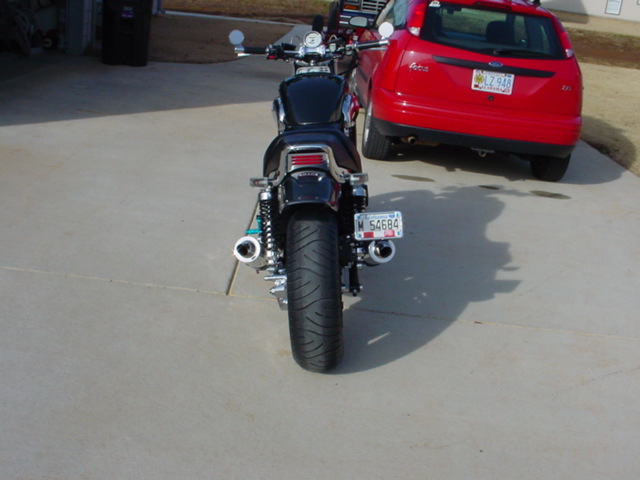
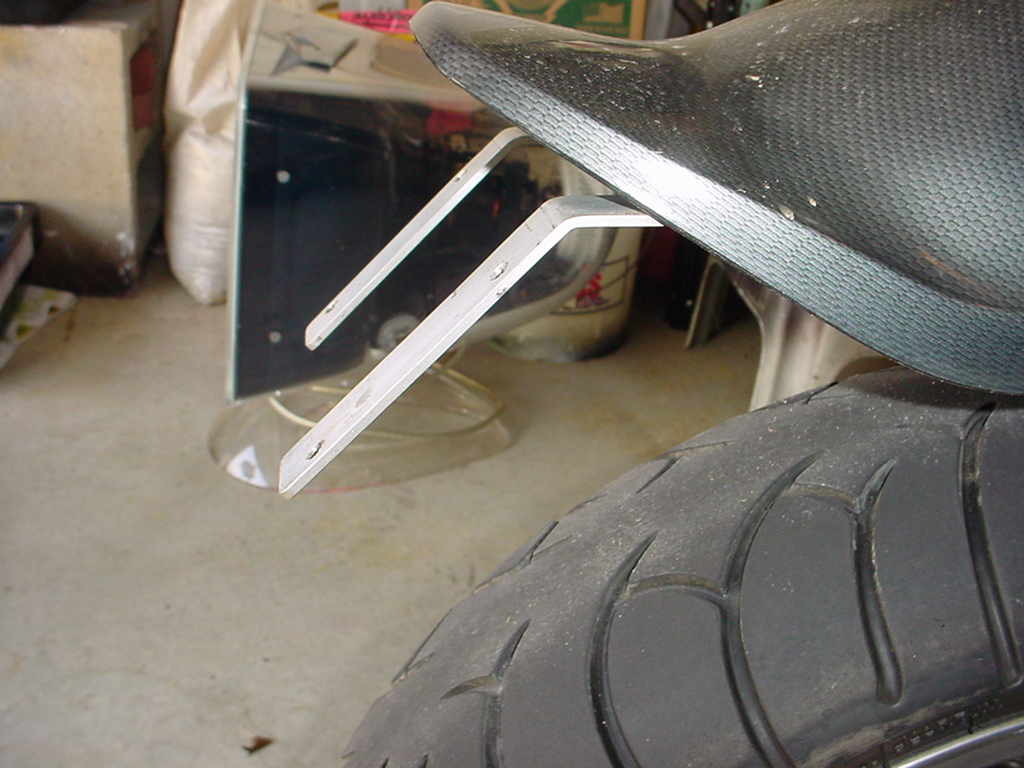
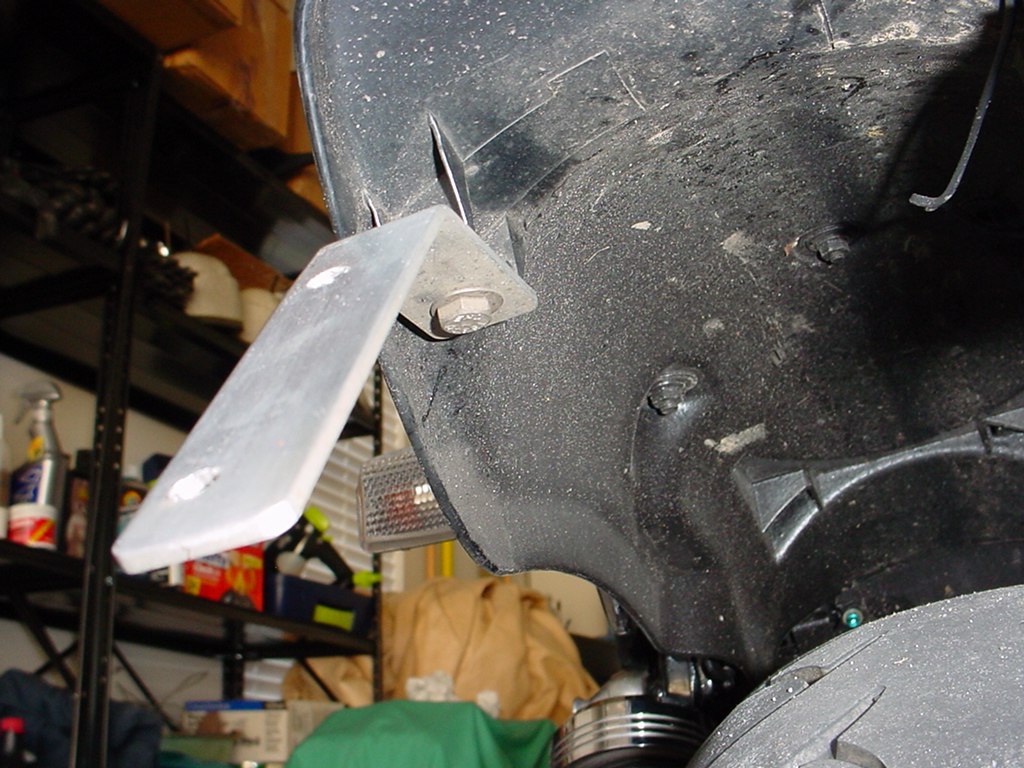
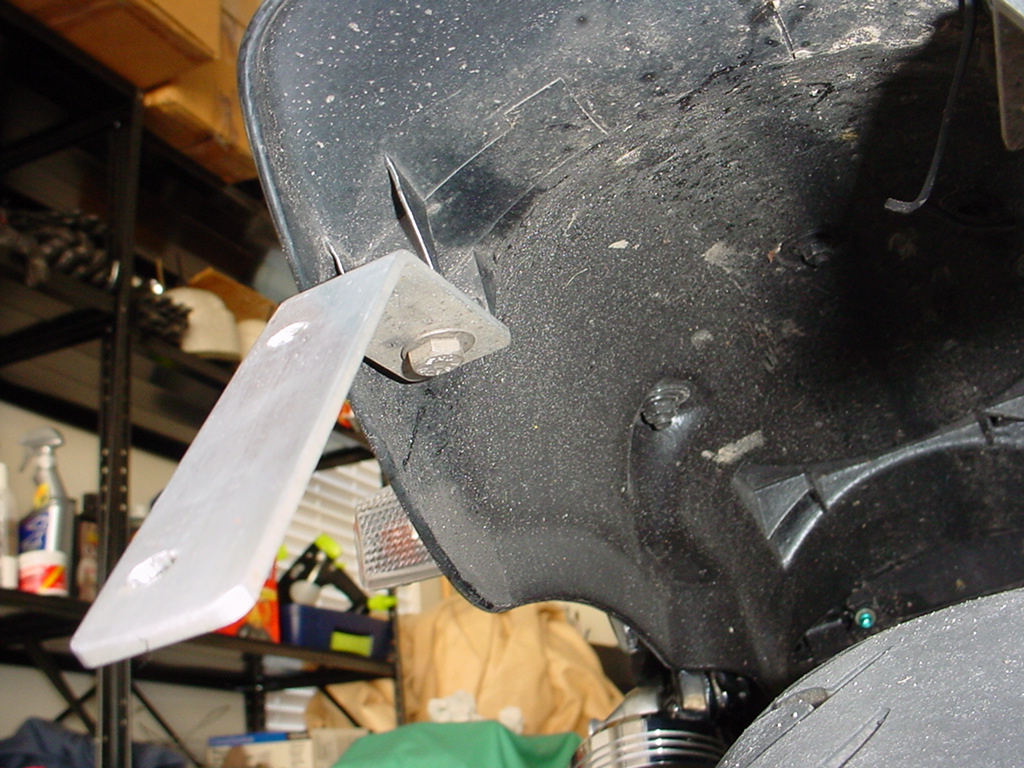
The side mount tag bracket looked good but I used a pot metal bracket to hold
it. That coupled with constant wind caused the bracket
to break at the bend and I almost lost my tag. In the process the Radiantz
led bracket was destroyed so I decided to go back
to the rear fender. Below is a simple tag bracket mount made from
aluminum.

![]()
![]()
![]()
Jump to page: 1 2 3 4 5 6 7 8 9 10 11 12 13
![]()
![]()